Sunday, January 27, 2013

REPOST: How to Decoupage Anything

What is decoupage? Learn about this artistic technique from this article by Darcy Logan.


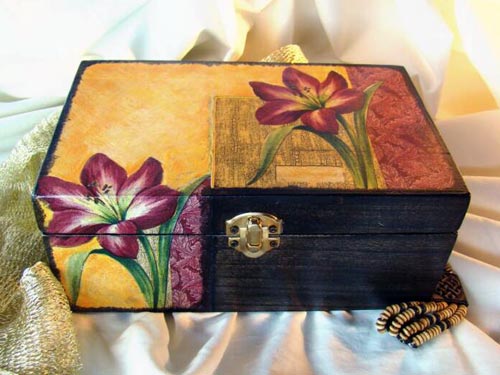
Image Source: TheArtZoo.com

Decoupage may seem like a new trend, but the technique actually dates back to twelfth century China. It was not until it became enormously popular in France and Italy during the seventeenth century that it became known as decoupage. Some famous people are known to have loved and enjoyed decoupaging during their lives including Marie Antoinette, Madame de Pompadour, and Beau Brummell. If you haven't yet, you should consider trying it. Decoupage is relatively easy and inexpensive to do. Here are some basic guidelines to get you started.

Selecting What to Decoupage

First, decide what item you want to decoupage. The sky is the limit here. Any material can be decoupaged including wood, plastic, metal, ceramic, and paper. You might consider decorating an old piece of furniture or embellishing a boring light shade. Other items that people have successful decoupaged include trash cans, picture frames, photo albums, shelves, vases, boxes, candles, and even sneakers. Whatever item you choose, it should be clean and free of any dust or dirt. If you want to paint it, do it at least twenty-four hours before you decoupage it.

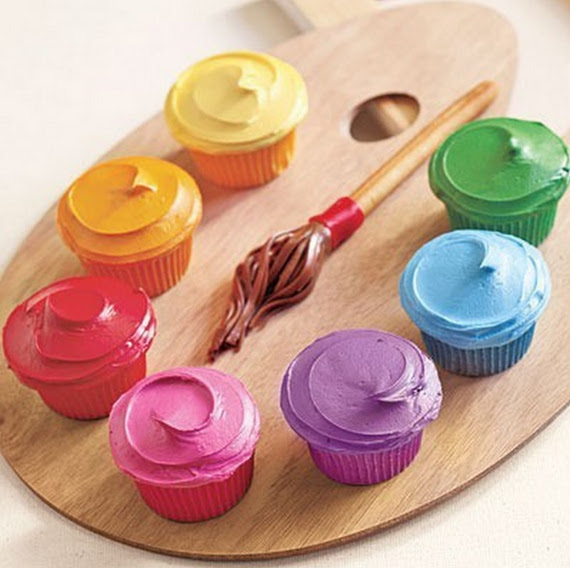
Image Source: ElleDecor.com

Selecting Materials

Once you have the item picked out, you need to decide what you will use to cover it. Technically, the term decoupage refers to gluing items that have been cut out--the term comes from the word 'decouper,' which means 'to cut out.' However, decoupage does not have to be limited this way. You can use pictures from magazines, catalogs, or books. Wrapping paper, wallpaper, greeting cards, tissue paper, postcards, and fabric are other possibilities. Craft stores even sell specially made paper for decoupage. If you have a good printer, surf the Internet and print out your own pictures. You can even use your own personal photos. However, you may want to consider getting high-quality copies made first because the copies are usually easier to work with.

HINT: When cutting out designs, make sure you use a sharp scissor, razor blade, or craft knife. Tilt the cutting edge slightly toward the outside to give the paper a beveled edge. Straight up-and-down cuts give the paper a hard, raw edge and may cause the underside colors to show.

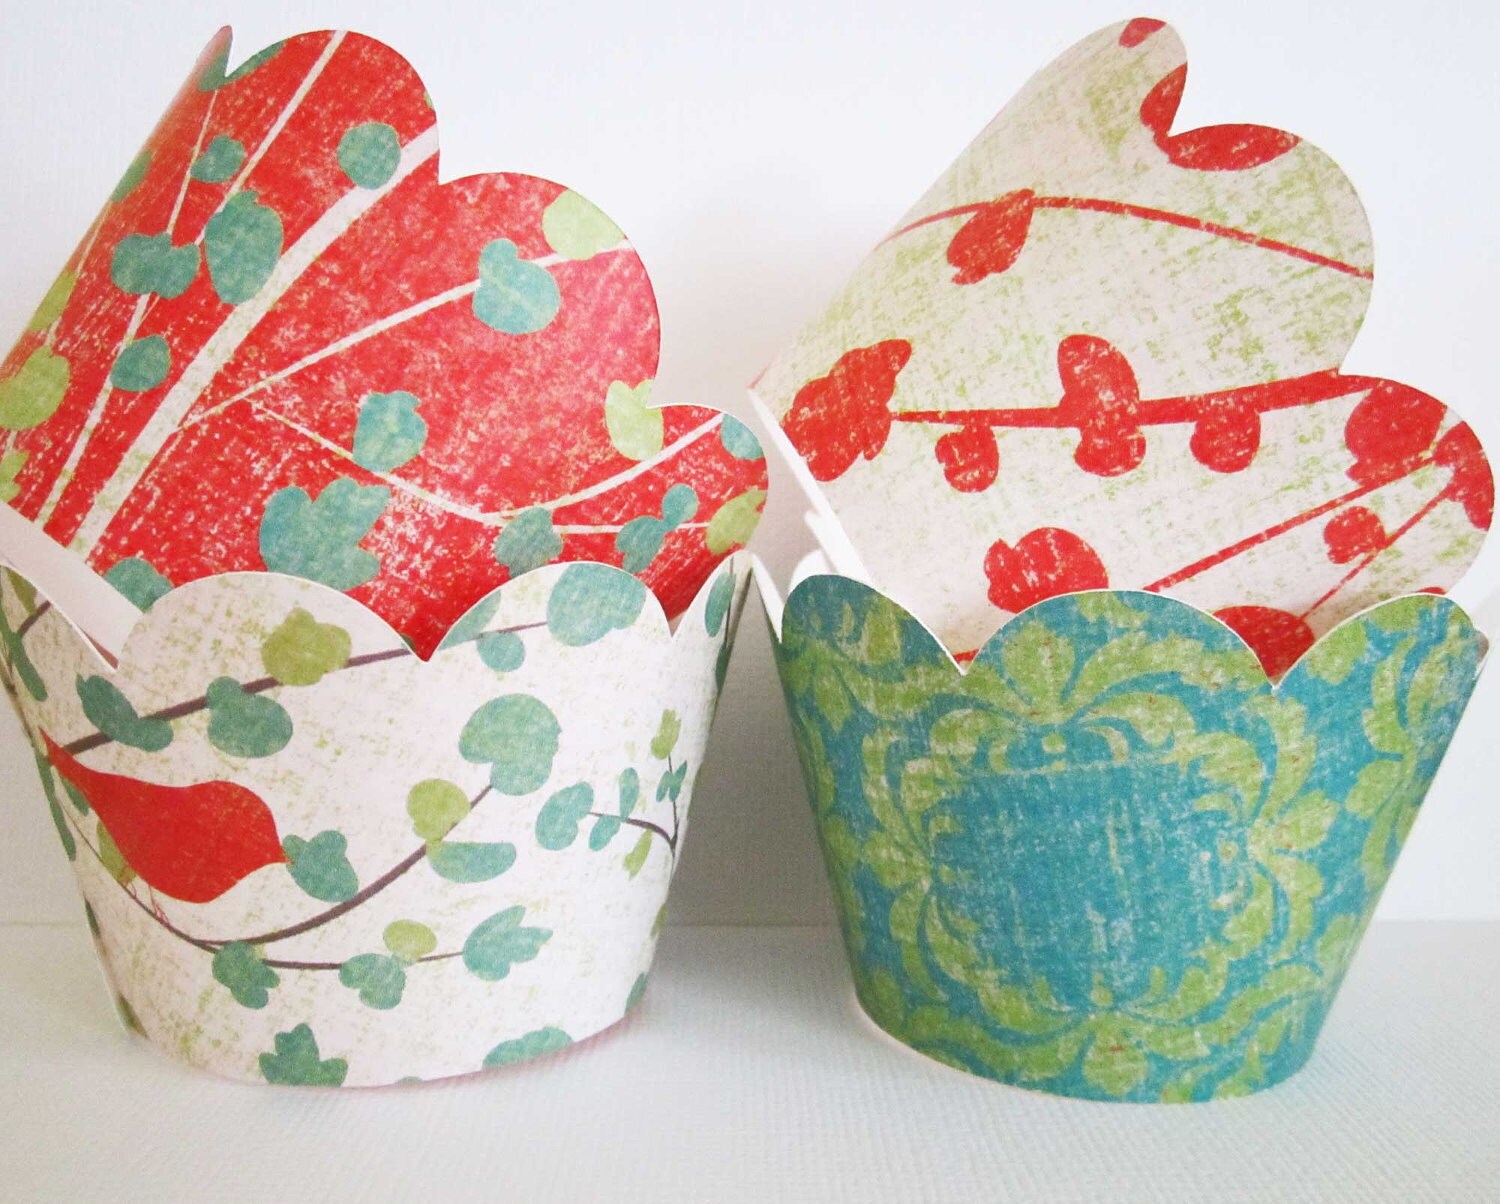
Image Source: SonyaStyle.com
  
 Organizing Materials

After you have all your pictures cut out, decide how you want to arrange them on the item. Pictures can be in any design and even overlap. Be creative. If you do not like how it turns out, you can always redo it provided you have more paper. Most decoupage medium will come off in water provided you do it before it has been sealed.

Collecting Supplies

Next, you need to gather the necessary supplies to decoupage. Your main ingredient is the glue. Inexpensive decoupage medium can be purchased at any craft stores, but you can also use diluted white glue. Simply add a little water to make the glue thinner. For larger projects, you can also use wallpaper paste.

You will also need something to apply the glue or decoupage medium to the paper. A cotton swab or a paintbrush will work, but foam brushes seem to do the best job. You may want to get a Popsicle stick or a brayer (which looks like a mini-rolling pin) to help smooth out the wrinkles. You should also have a damp rag to wipe up any excess glue. Polyurethane or acrylic spray sealer will also be needed if you want to protect your item.

Image Source: SetToStunning.com

Decoupage Methods

There are two ways you can decoupage. If you are planning to decoupage onto paper or if you do not want to have any finish on the item, only apply the glue to the backside of the picture. Otherwise, you can coat the entire picture with glue or decoupage medium. You might also want to put a thin layer onto the area where you will be sticking the picture.

Place the picture onto the item. Then, starting from the center, use your fingers to push the picture down gently. Smooth out any wrinkles and excess glue. For an even smoother look, use the Popsicle stick or brayer. Use your damp cloth to wipe off any excess glue from around the picture and smooth down the edges. If the edges are not sticking, lift up the picture carefully with a toothpick and apply a small quantity of glue. Then, use your fingers or a damp cloth to press it down again.

Continue doing this until all your pictures are glued on. Let the glue dry. Top it off with a second coat of decoupage medium or diluted white glue to over the entire project. Once it has dried, you can use soft steel wool to buff the surface of the project and eliminate any spots that look white. However, this is not necessary. Additional coats of decoupage medium or glue can be applied if desired.

Sealing the project with a sealer is also optional. However, it is strongly recommended if your project is going to see any wear and tear. The more coats of sealer you use, the more the decoration will recede into the background and look like a painting. Let the sealer dry completely between coats. Some people will use ten to twelve coats of sealer on an object, but it is up to you.

Now that you are finished, it is time to decide what you want to decoupage next. Be warned, decoupaging can become an addicting habit. Luckily, it is also an inexpensive one. Before long, you will have an array of objects that can be used to decorate your home and that make wonderfully personalized gifts.
  
 Ingrid Callot is a do-it-yourself expert and stay-at-home mon. This Facebook page contains more fun D-I-Y projects and tips for homeowners.

Sunday, January 20, 2013

Cupcakes with a flair: Decorating cupcake wrappers

Image Source: LaughingSquid.com

Did I mention that Roger and I will be having our 10th wedding anniversary in a few days? I am so excited that I can barely contain it. In fact, I have already stashed away my gift for him at my sister’s house so that Roger will not find it. It’ll be such a delight to see him drop his jaw when he finds out what his gift is.

As a bonus, I’ve decided to bake cupcakes on our special day. Cupcakes made us what we are now – husband and wife. It was just a random day at the local coffee shop when a man snatched the last available cupcake, which happened to be my favorite! And the rest is history. 

Image Source: LifeAmbrosia.com

To add a twist to the usual cupcakes that I make, I decided to paint the cupcake wrappers as well.

Here are my tips for this fun project:

1. Avoid painting or embellishing the wrappers in a straight line because it will look odd when the paper is rolled into a cup. Instead, follow the contour of a cup.

2. Find a picture that can serve as a guide, or better yet, experiment. For starters, simple colorful dots, hearts, flowers, or checkered prints will do the trick. If all else fails, rubber or alphabet stamps will save your day. 

3. Cutouts will do. If you simply cannot paint even a circle, cutting cute pictures from gift wrappers, magazines, and other interesting materials can do wonders. Simply glue them onto the wrappers and you will have a nice cupcake wrapper.

Image Source: Etsy.com

I hope these tips will do wonders for you, as they are perfect for any occasion.

More DIY projects are available at Ingrid Callot’s Twitter page.

Sunday, January 6, 2013

Table decorations: A feast for the eyes

Image Credit: BestHomeDecorators.com


Decorating the house is one of my favorite activities. I often look for new ways to make my home attractive and homey. My husband loves the way I decorate our house and he’d always whisper in my ear, “What would home be like without my Ingrid Callot…”

My love for decorating started when I was just a kid. I saw my mom decorating the table for Thanksgiving dinner and I was amazed at how in a flick of a finger, the once boring and dull table turned into something fit for the gods. Since then, I started decorating, thinking that I have inherited my mom’s magical decorating prowess.


Image Credit: Decoist.com


Although I love embellishing the house, I’ve been really good at decorating the table. I believe that a nicely decorated table can increase appetite and can create a sense of satisfaction regardless how ordinary a meal is. Throughout the years, I’ve changed the themes of our dining area, from garden-inspired to pirate-inspired decoration (the latter being my son’s favorite).

For moms who do not have much time to spare, there are several fast and easy ways to decorate the table. Here are some simple tips to perk up a boring table without worrying about budget and time:


Image Credit: HomeDesignInspirations.com


1. Spice up your table by giving it a new hue. You can brighten up an old table by painting it with a new hue. If you are afraid of such a drastic move, painting the legs or the sides of the table can also create an almost similar effect.

2. Add interesting details. Odd tins and vases can add character to the table. Plates with different and interesting details can also perk up your dining area.

3. Create a woodland–inspired centerpiece. Place a plant on a mod vase. You can accent it with pebbles, ceramic mushrooms, or small driftwoods for an interesting effect.

4. Use other items from nature such as bare branches, cones, and leaves, and arrange them on beautiful bowls or lovely jars.

Want more decorating tips? Follow me on Twitter!

Tuesday, January 1, 2013

15 Cool kids room wall decor ideas


Are you planning to redecorate the room of your kids ? Here are some fresh design ideas for more fun and interesting kiddie rooms, shared by CircleofMoms.com.

Looking for fresh ways to add color or interest to your kids' rooms? From cool new ways to use fabric and cutouts to a clever use for leftover gift wrap, these ideas left us inspired to start re-decorating!

Escaping Butterflies


"We stuck feather butterflies flying out of a repainted thrift store picture frame and it continues to delight my daughter (and her friends) to this day!" -Carrie of Making Lemonade


 Chalkboard Paint 


"Chalkboard paint a section" -Claudia R. via Facebook


Wall Decals


"Wall decals from Etsy.com" -Jannica D. via Facebook


 Framed Wrapping Paper 


"Wrapping paper. I've done it. You can change [it] whenever you want." -Rose F. viaFacebook


Hand Prints

"My daughter wanted rainbow colors, so I painted half the wall pink, the other was purple, then painted the border that went around the center of the room in different colors. The finishing touch was that we took all the colors I used and she put her hand prints around the room and really made it her own." -Shantelle D. via Facebook

   
Cutouts


"For my daughter's room I went to Michael's and bought some of those wooden cutouts (wall decorations) of butterflies, dragonflies, flowers, etc. and painted them at home. They came out really cute!" -Danielle H. via Facebook


Painted Tent


"My daughter’s room has an arched ceiling. I decided to highlight it instead of trying to hide it. So we painted the ceiling and half the wall! I had it painted like a tent (thinking more Parisian rather than circus) but utilized one third of the ceiling so it wouldn’t make anyone dizzy." -Ms. Uncommon Sense


Song Lyrics 


"Song lyrics of a special song stenciled or hand painted on to the walls." -Vanessa J. via Facebook


 Sky and Clouds


"We did blue sky with the clouds in my daughter's room. The ceiling has glow-in-the-dark stars" -Tracy M. via Facebook


                                           Fabric Covered Bulletin Boards 


"[I] have taken tack boards and covered them with fabric and decorated them to match with what's important to the kids." -Stacy T. via Facebook


Fabric Hoops


"I bought a lot of hoops for $35. Then I used fabric remnants to cover a large space on one wall. The wall is painted pale pink so the beautiful fabrics really stand out. This project was very inexpensive and looks stunning. Better yet, anyone can do it. All you need to do is trace and cut a circle for each hoop." -Amanda of Mommy is Coocoo

Book Bins


"I attach bins and baskets to the walls to house children's books and double as cute decor!" -Krissy Sherman Bonning of B-Inspired Mama


Personalized Art 


"We love personalized art. Kids love to see their names! Here's a fun personalized fireman wall art and there are many other fun pictures that can be personalized." -Melissa Hawks of The Well Appointed Life


Hand-Painted Butterflies


"I transformed my daughters nursery into a big girl butterfly room. I loved changing the room from pink to purple and making it into a place where they can play. And the handpainted butterflies are the perfect and [inexpensive] addition to the room." -Allison Bonar of Twingle Mommy


Finger-Painted Canvasses


 "I bought some cheap canvases and had my son fingerpaint on them. After they dried I hung them up." -Melissa P. via Facebook


Source: https://www.circleofmoms.com/article/15-cool-kids-room-wall-decor-ideas-photos-06007?slide=1#